Raspberry Pi SSH tunnel has become a popular method for users to establish secure and encrypted connections between devices. Whether you're setting up a home server, managing remote systems, or securing your data transmission, understanding how SSH tunnels work with Raspberry Pi is essential. This guide will provide you with all the necessary information to get started and optimize your setup.
As technology continues to evolve, remote access to devices and data has become increasingly important for both personal and professional purposes. With the rise of cyber threats, ensuring the security of your connections is paramount. Raspberry Pi, a versatile and affordable device, offers a powerful solution for creating secure tunnels using SSH.
This article will delve into the intricacies of Raspberry Pi SSH tunneling, covering everything from basic setup to advanced configurations. By the end, you'll have a thorough understanding of how to leverage this technology to enhance your security and remote access capabilities.
Read also:What Does Vanguard Mean A Comprehensive Guide To Understanding The Term
Table of Contents
- What is SSH Tunnel?
- Raspberry Pi Overview
- Benefits of SSH Tunnel
- Setting Up SSH on Raspberry Pi
- Creating an SSH Tunnel
- Securing Your SSH Tunnel
- Troubleshooting Common Issues
- Use Cases for Raspberry Pi SSH Tunnel
- Performance Optimization Tips
- Conclusion
What is SSH Tunnel?
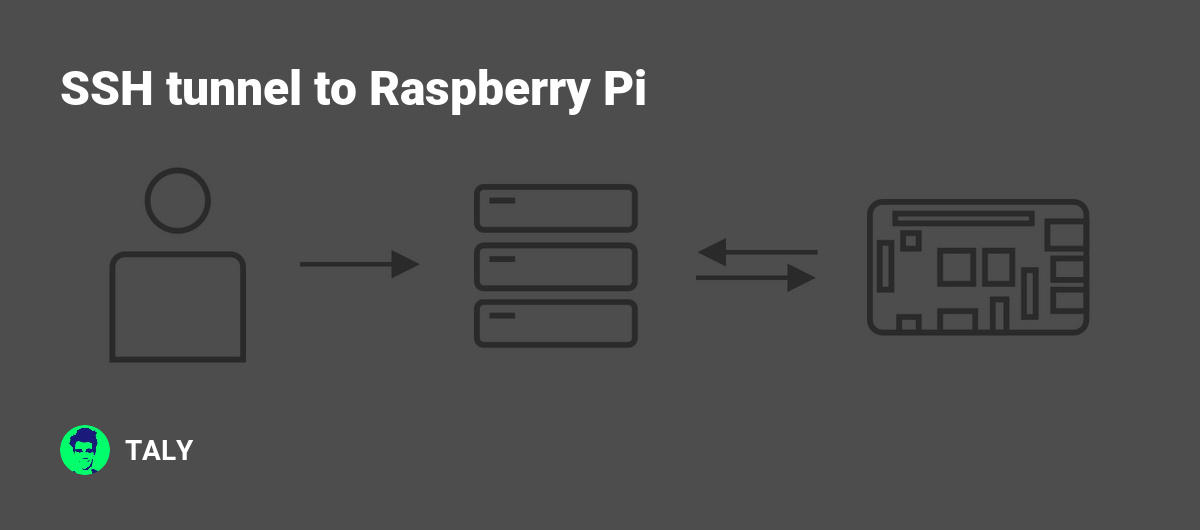
An SSH tunnel refers to a method of transmitting data securely over an encrypted connection. SSH (Secure Shell) is a cryptographic network protocol used primarily for secure communication between devices. By creating an SSH tunnel, users can bypass firewalls, encrypt data transmissions, and access remote servers securely.
Raspberry Pi SSH tunnel allows users to leverage the power of this small yet powerful device to establish secure connections. This is particularly useful for tasks such as remote desktop access, file transfer, and secure web browsing.
Some key benefits of using SSH tunnels include enhanced security, privacy, and flexibility in accessing remote resources. Understanding the fundamentals of SSH and tunneling will help you make the most of this technology.
Raspberry Pi Overview
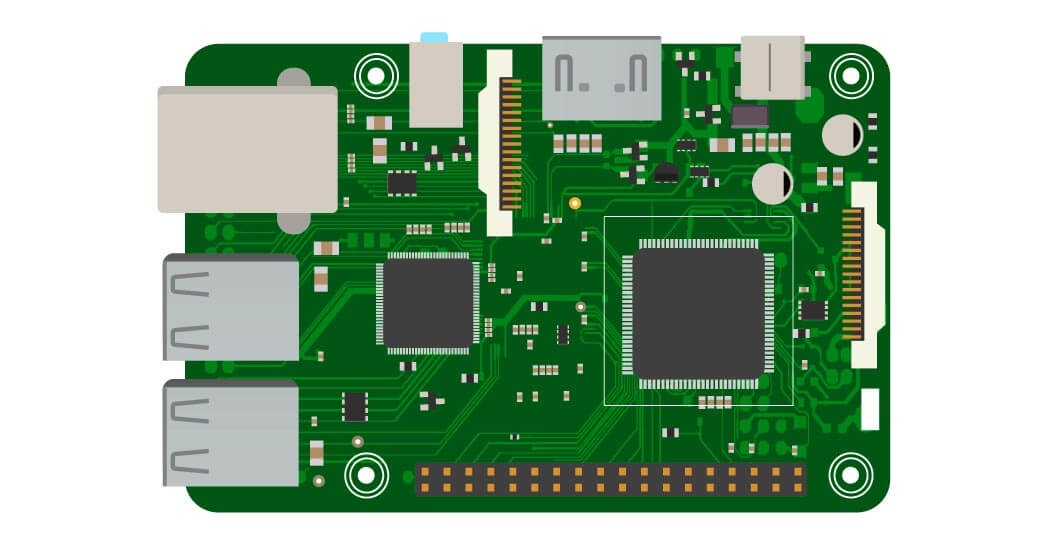
Raspberry Pi is a single-board computer that has gained immense popularity due to its affordability, versatility, and ease of use. It is widely used in various applications, including home automation, media centers, and educational projects. The device's compact size and low power consumption make it ideal for portable and embedded systems.
When it comes to Raspberry Pi SSH tunnel, the device serves as a reliable platform for setting up secure connections. Its compatibility with Linux-based operating systems, such as Raspbian, makes it easy to configure SSH and related services.
Before diving into the specifics of setting up an SSH tunnel, ensure that your Raspberry Pi is properly configured and updated. This includes installing the latest software updates, setting up a static IP address, and enabling SSH services.
Read also:Understanding Abas And Routing Numbers A Comprehensive Guide
Benefits of SSH Tunnel
Using Raspberry Pi SSH tunnel offers several advantages for users looking to enhance their security and connectivity:
- Encrypted Communication: SSH tunnels encrypt all data transmitted between devices, ensuring that sensitive information remains secure.
- Bypassing Firewalls: By tunneling traffic through SSH, users can bypass restrictive firewalls and access blocked websites or services.
- Remote Access: SSH tunnels enable secure remote access to servers, making it easier to manage and monitor systems from anywhere.
- Flexibility: With Raspberry Pi, users can experiment with different configurations and use cases, tailoring the setup to their specific needs.
These benefits make Raspberry Pi SSH tunnel an attractive option for both beginners and advanced users alike.
Setting Up SSH on Raspberry Pi
To begin using Raspberry Pi SSH tunnel, you first need to enable SSH on your device. Follow these steps to set up SSH on your Raspberry Pi:
- Boot your Raspberry Pi and log in to the terminal.
- Open the terminal and type the following command to enable SSH:
sudo raspi-config
- Navigate to "Interfacing Options" and select "SSH."
- Choose "Enable" and reboot your Raspberry Pi.
Once SSH is enabled, you can connect to your Raspberry Pi from another device using an SSH client such as PuTTY (for Windows) or the terminal (for macOS/Linux).
Creating an SSH Tunnel
Creating an SSH tunnel involves establishing a secure connection between your local machine and the Raspberry Pi. There are several types of SSH tunnels, each serving different purposes. Below, we will explore two common types: port forwarding and dynamic tunnels.
Port Forwarding
Port forwarding allows you to redirect traffic from one port on your local machine to another port on the remote server. This is useful for accessing services running on the remote server securely. To set up port forwarding:
- Open a terminal on your local machine.
- Run the following command:
ssh -L [local_port]:[remote_host]:[remote_port] [username]@[raspberry_pi_ip]
- Replace the placeholders with your specific details. For example:
ssh -L 8080:localhost:80 pi@192.168.1.100
This command forwards traffic from port 8080 on your local machine to port 80 on the Raspberry Pi, allowing you to access a web server running on the Pi.
Dynamic Tunnel
A dynamic tunnel acts as a SOCKS proxy, enabling you to route all your traffic through the SSH connection. This is ideal for secure web browsing and accessing multiple services over the tunnel. To create a dynamic tunnel:
- Open a terminal on your local machine.
- Run the following command:
ssh -D [local_port] [username]@[raspberry_pi_ip]
- Configure your web browser or application to use the SOCKS proxy on the specified local port.
This setup ensures that all your internet traffic is encrypted and routed through the Raspberry Pi SSH tunnel.
Securing Your SSH Tunnel
While SSH tunnels provide a secure method of communication, it's important to take additional steps to enhance their security:
- Use Strong Passwords: Ensure that your Raspberry Pi login credentials are strong and unique.
- Disable Password Authentication: Consider using SSH keys instead of passwords for authentication.
- Limit Access: Restrict SSH access to specific IP addresses or networks.
- Update Regularly: Keep your Raspberry Pi and SSH software updated to protect against vulnerabilities.
Implementing these security measures will help safeguard your Raspberry Pi SSH tunnel against potential threats.
Troubleshooting Common Issues
When working with Raspberry Pi SSH tunnel, you may encounter some common issues. Below are solutions to help you resolve them:
- Connection Refused: Ensure that SSH is enabled on your Raspberry Pi and that the IP address and port number are correct.
- Authentication Failed: Double-check your login credentials and ensure that SSH keys are properly configured.
- Slow Performance: Optimize your network settings and consider upgrading your Raspberry Pi's hardware for better performance.
If problems persist, consult the official Raspberry Pi documentation or seek assistance from online forums and communities.
Use Cases for Raspberry Pi SSH Tunnel
Raspberry Pi SSH tunnel can be applied in various scenarios to enhance security and functionality:
- Remote Desktop Access: Use SSH tunnels to securely access your Raspberry Pi's desktop environment from anywhere.
- Secure File Transfer: Transfer files between devices using SCP or SFTP over an SSH tunnel.
- Private Browsing: Route your web traffic through a Raspberry Pi SSH tunnel for enhanced privacy.
- IoT Device Management: Securely manage IoT devices connected to your Raspberry Pi using SSH tunnels.
These use cases demonstrate the versatility and potential of Raspberry Pi SSH tunnel in real-world applications.
Performance Optimization Tips
To ensure optimal performance of your Raspberry Pi SSH tunnel, consider the following tips:
- Optimize Network Configuration: Adjust your Raspberry Pi's network settings for faster and more stable connections.
- Use Compression: Enable SSH compression to reduce data transfer times.
- Monitor Resource Usage: Keep an eye on your Raspberry Pi's CPU and memory usage to prevent bottlenecks.
- Upgrade Hardware: If performance becomes an issue, consider upgrading your Raspberry Pi model or adding external storage.
By following these tips, you can maximize the efficiency and reliability of your Raspberry Pi SSH tunnel.
Conclusion
Raspberry Pi SSH tunnel offers a powerful and secure way to access and manage remote systems. By understanding the basics of SSH and tunneling, you can harness the full potential of this technology to enhance your security and connectivity. Whether you're setting up a home server, managing IoT devices, or securing your web browsing, Raspberry Pi provides a versatile platform for achieving your goals.
We encourage you to experiment with different configurations and explore the many possibilities offered by Raspberry Pi SSH tunnel. Don't forget to share your experiences and insights in the comments section below. Additionally, feel free to explore other articles on our website for more valuable information on technology and computing.